Source:Goolge.com.pk
Pencil Drawing Pics Biography
Think of what you want to draw. Some examples are people, animals, still life( still objects) or landscapes.
Picture Round The new Draw Something. Match Words to Win Coins and Points
2Choose the perfect pencil. A school pencil will give you a good medium shade line and a medium width of the line. If you want a darker pencil use a B pencil. The higher the number, the darker you can go. 6B is much darker than 2B. If you want a really light line use an H pencil. The higher the number the lighter the line. 6H is much lighter than 2H. Most craft and art stores sell these pencils. The best drawings use many pencils.
3Keep your pencil point sharp. The sharper the point, the better you can draw. Sharpen it often as you draw.
4Choose the perfect paper - Bristol Board is by far the best drawing paper on the planet. The smoother the finish the more awesome the drawing.
5Keep your paper clean by washing your hands. Always wash your hands before you start drawing. This prevents smudges and stains. If you get up to grab a snack, wash your hands again before getting back to your drawing.
6Never rest any part of your hand on any part of your paper that has pencil on it. In other words never rest your hand on your actual drawing. Try to keep your hand on the blank parts of the paper. This prevents blurring your lines.
7Use a 'kneaded eraser'. These are special erasers which will erase pencil lines without scratching the paper.
8Using small, fine lines with a pencil, quickly and lightly sketch the basic form of the object you are trying to draw. Try to break it down to basic shapes or forms. Use circles, squares, triangles and rectangles to represent the largest parts of the object. Pay special attention to relationships (example: one object is 2 1/2 times taller than the one beside it and twice as wide).
9Erase and redraw as needed until you are satisfied that your basic shapes look the way you want.
10The more time you take to make sure the forms are correctly drawn, the more convincing and impressive your drawing will be. No amount of detail will compensate for unintentional inaccuracies.
11Once you are satisfied with the drawing's form and outline, go over the drawing, adding small, wispy lines to increase detail and to show light and shadow.
12Once you are done, you can begin the finish line-work. Go over with a fine tipped pen or sharp pencil and add details to the darker areas using solid lines.
13If you used pen, take an eraser (a rubber eraser is better than the standard pencil eraser) and erase all of the original fine lines you made with the pencil.
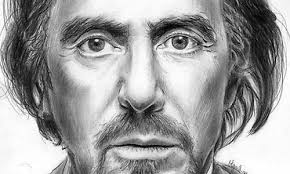
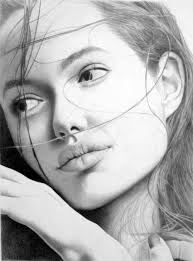
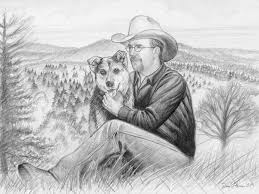
Pencil Drawing Pics
Pencil Drawing Pics
Pencil Drawing Pics
Pencil Drawing Pics
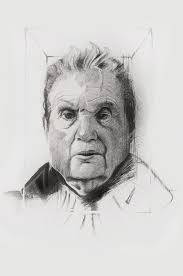
Pencil Drawing Pics
Pencil Drawing Pics
Pencil Drawing Pics
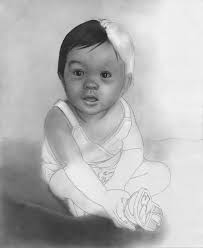
Pencil Drawing Pics
Pencil Drawing Pics
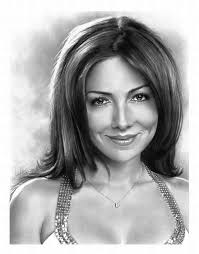
Pencil Photograph | Learn Pencil Drawings pics
Pencil Drawings Pictures | Pencil Drawings
No comments:
Post a Comment